Blog
A Paper Bag Native American Vest For Thanksgiving
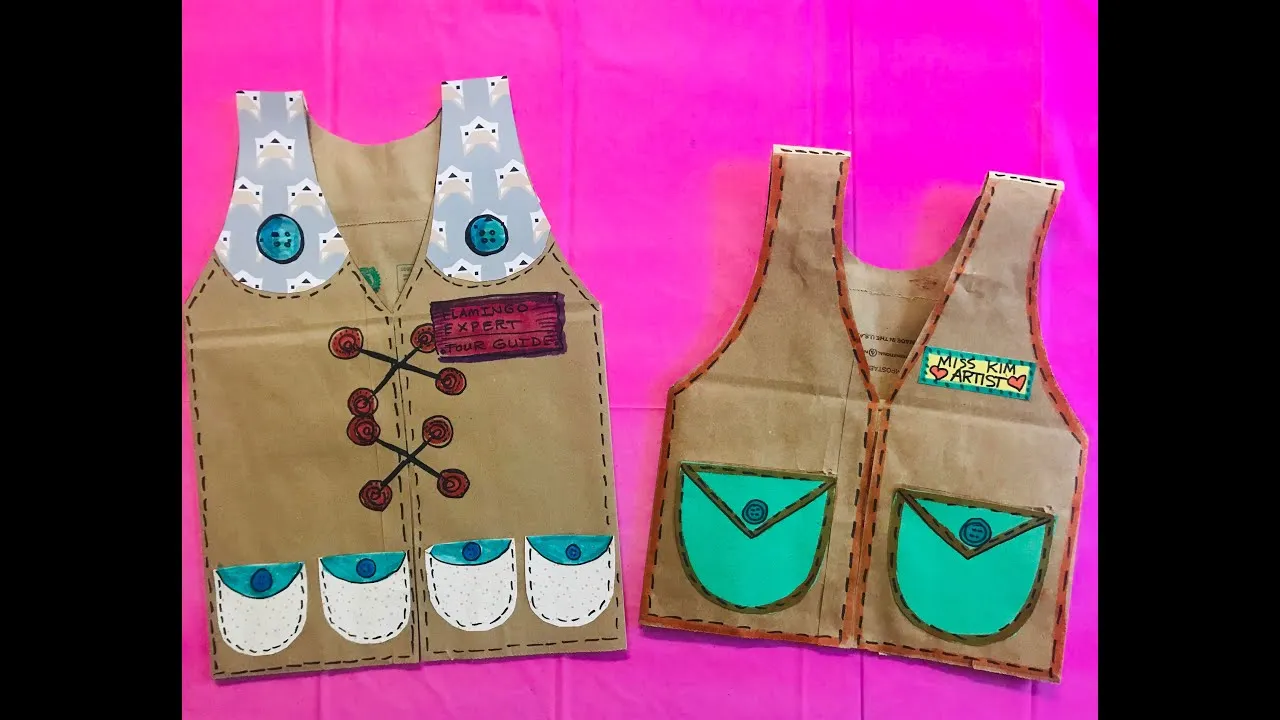
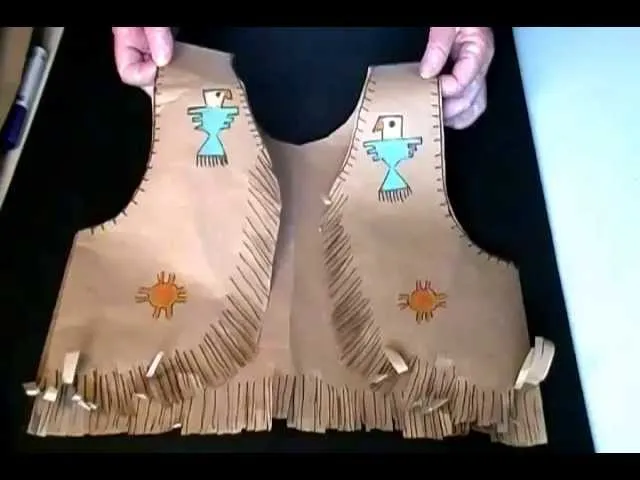
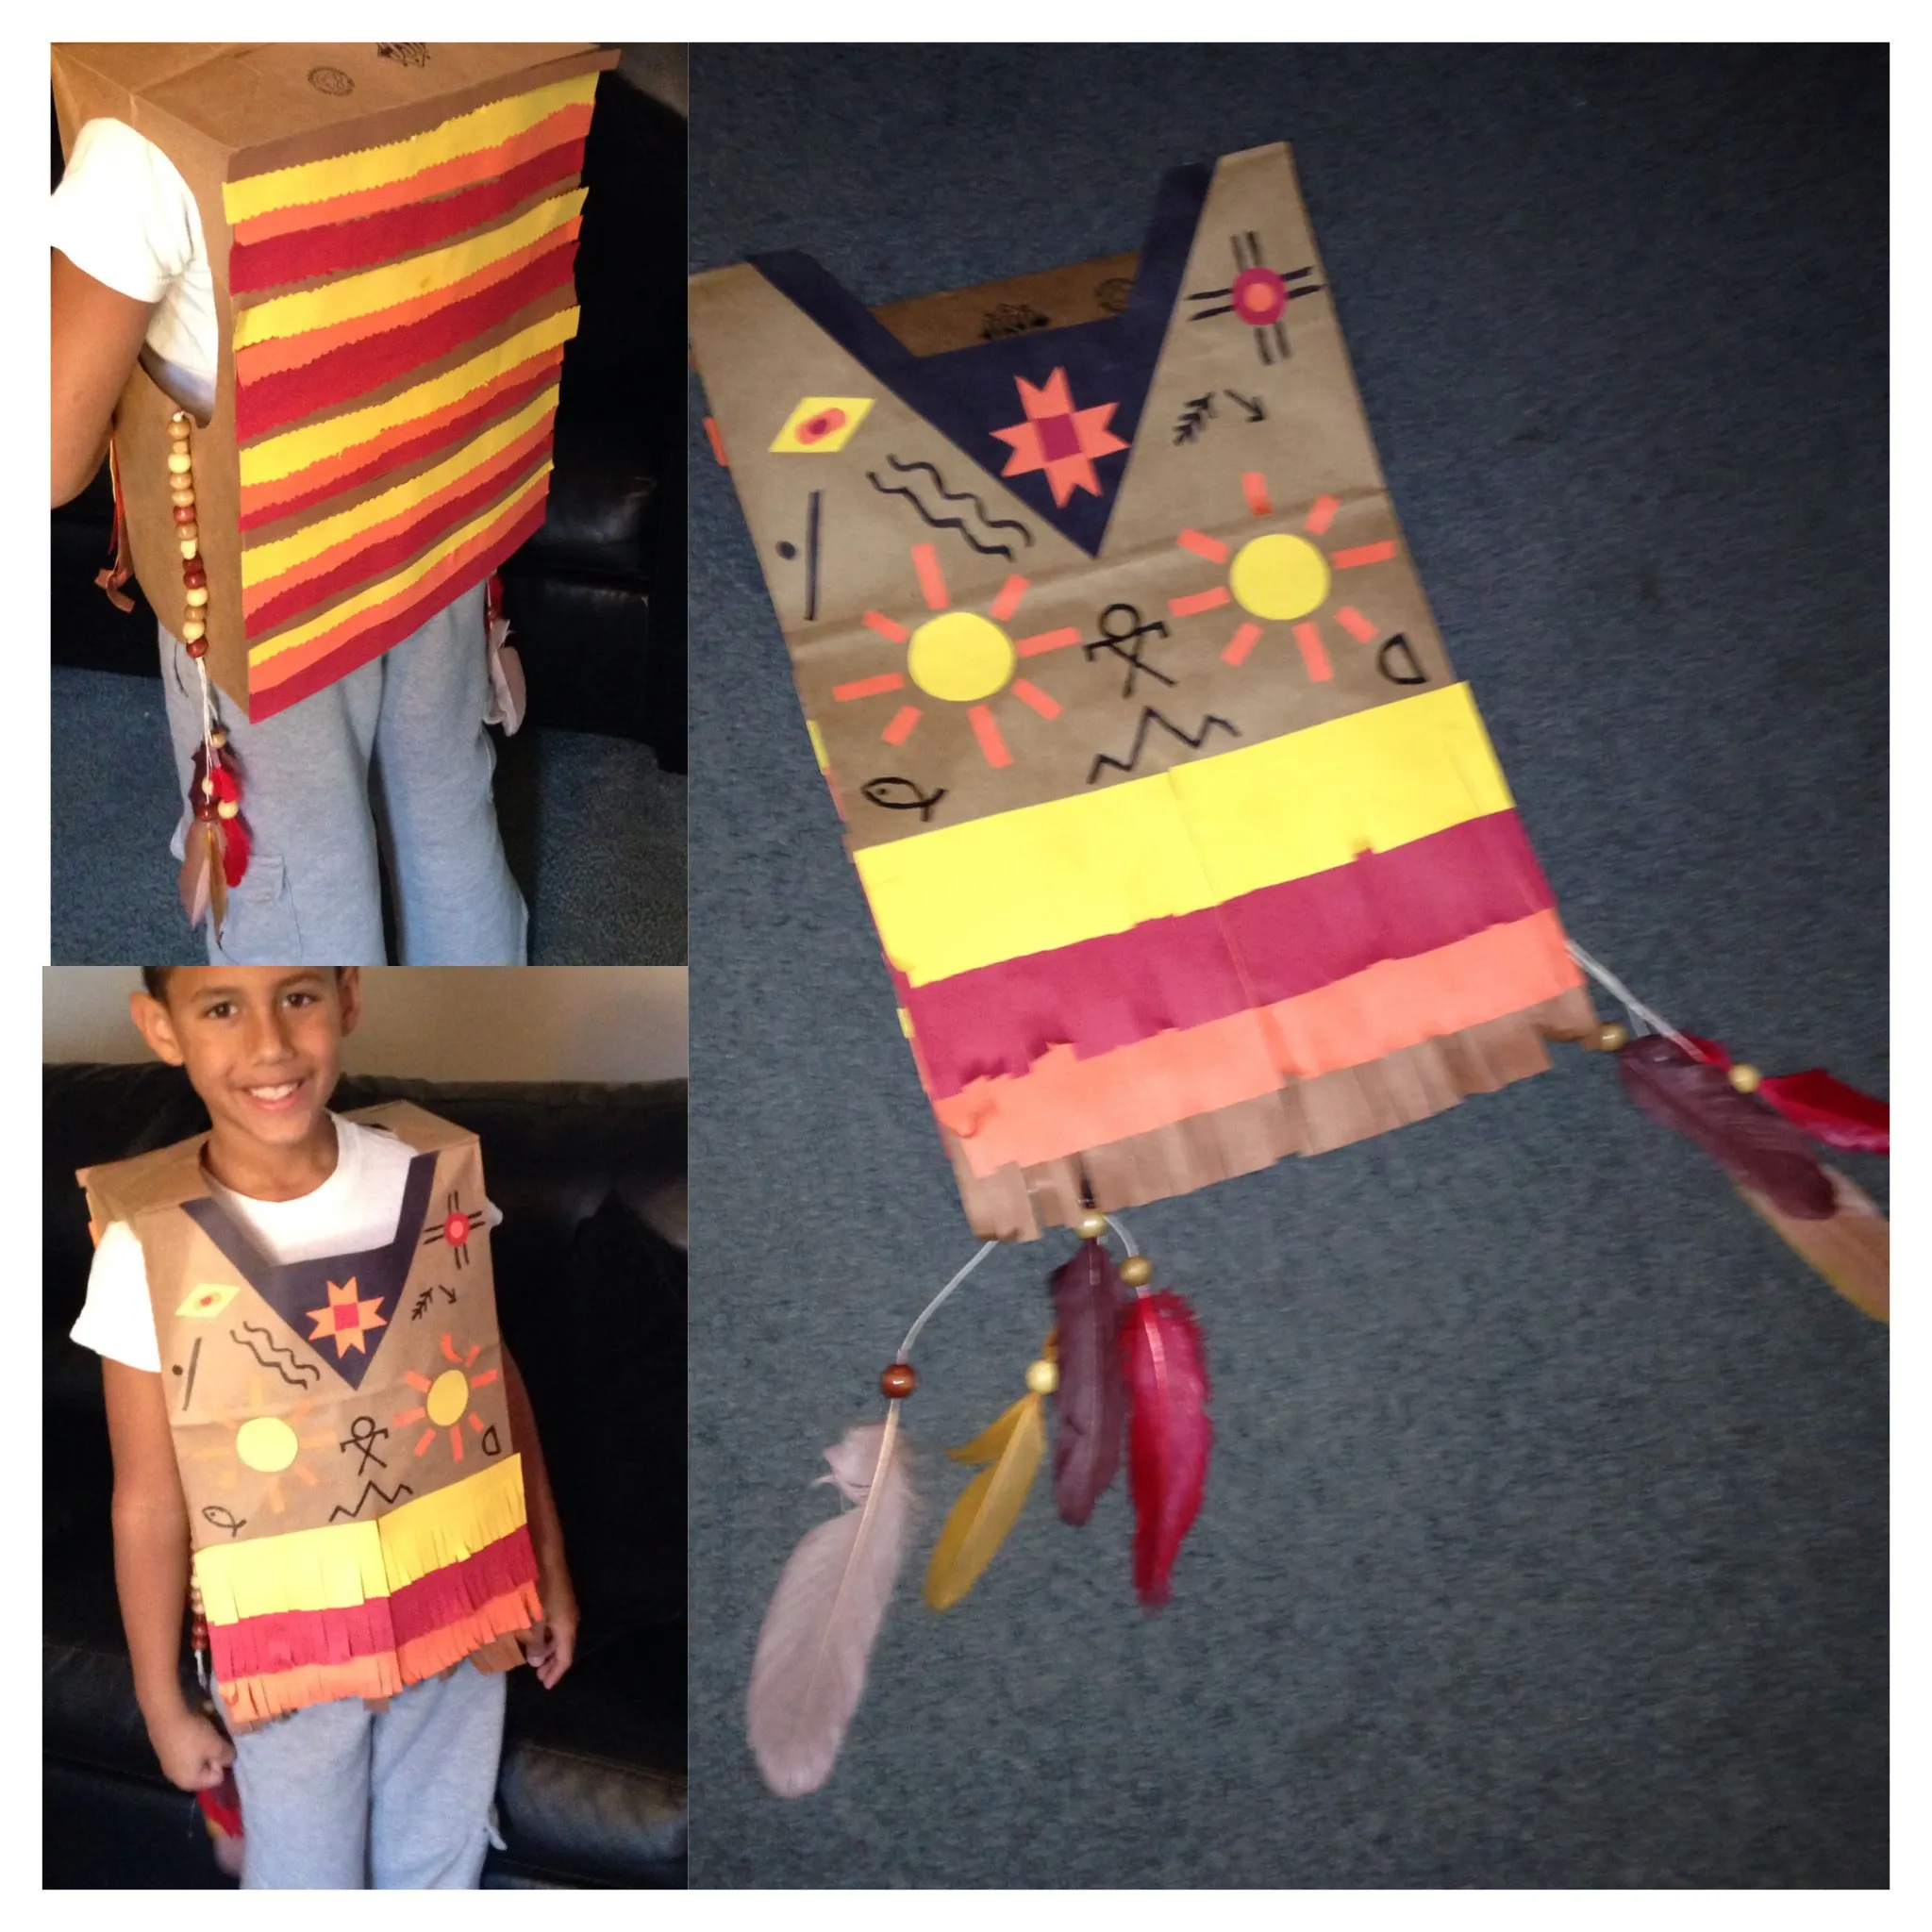
Are you looking for a fun and eco-friendly way to upcycle paper bags into a stylish vest? You’re in the right place! In this step-by-step guide instructed by Native American Clothes, we’ll explore the fascinating world of crafting your very own paper bag vest.
This engaging A paper bag Native American vest for Thanksgiving project not only lets you express your creativity but also promotes sustainability by repurposing everyday materials. So, grab your scissors, paper bags, and let’s embark on a crafting adventure that results in a unique and fashionable vest.
How do you make a vest out of paper bags?

Creating your own paper bag vest is not only a fantastic way to repurpose materials but also an opportunity to explore your creative side. This project is eco-friendly, budget-friendly, and allows you to design a unique fashion statement. In this comprehensive guide, we’ll walk you through the steps to make a stylish paper bag vest that you can proudly wear. So, let’s get started!
Materials You’ll Need:
Before diving into the crafting process, let’s gather all the necessary materials:
- Paper Bags: Collect several paper bags, either brown or white. The number of bags will depend on your size and how long you want the vest to be.
- Scissors: You’ll need a pair of sharp scissors to cut and shape the paper bags.
- Decorating Supplies: Gather markers, crayons, or paint for decorating your vest. This is where you can let your creativity shine.
- Hole Puncher: A hole puncher will be used to create holes for fastening your vest.
- Fastening Material: You can use yarn, ribbon, or string to tie and secure your vest.
- Optional Embellishments: If you want to add extra flair to your vest, consider using stickers, fabric scraps, or other embellishments.
Now that you have all your materials ready, let’s start creating your paper bag vest.
Step-by-Step Instructions:
- Flatten the Bags: Begin by carefully cutting along the seams of the paper bags to flatten them. These flattened pieces will be the foundation for your vest.
- Plan Your Design: Before diving into cutting and decorating, take a moment to plan your vest’s design. Think about the colors, patterns, and shapes you want to incorporate into your creation.
- Create the Vest Shape: Fold one of the flattened paper bags in half horizontally. This will be the starting point for creating the vest shape. Now, cut a “V” shape out of the center of the folded edge to create the neck opening. Make sure not to cut too deep; leave enough space for your neck.
- Add Armholes: With the paper bag still folded, cut holes on each side to create armholes. These holes should be made about midway down the folded sides, leaving enough space for your arms to comfortably pass through.
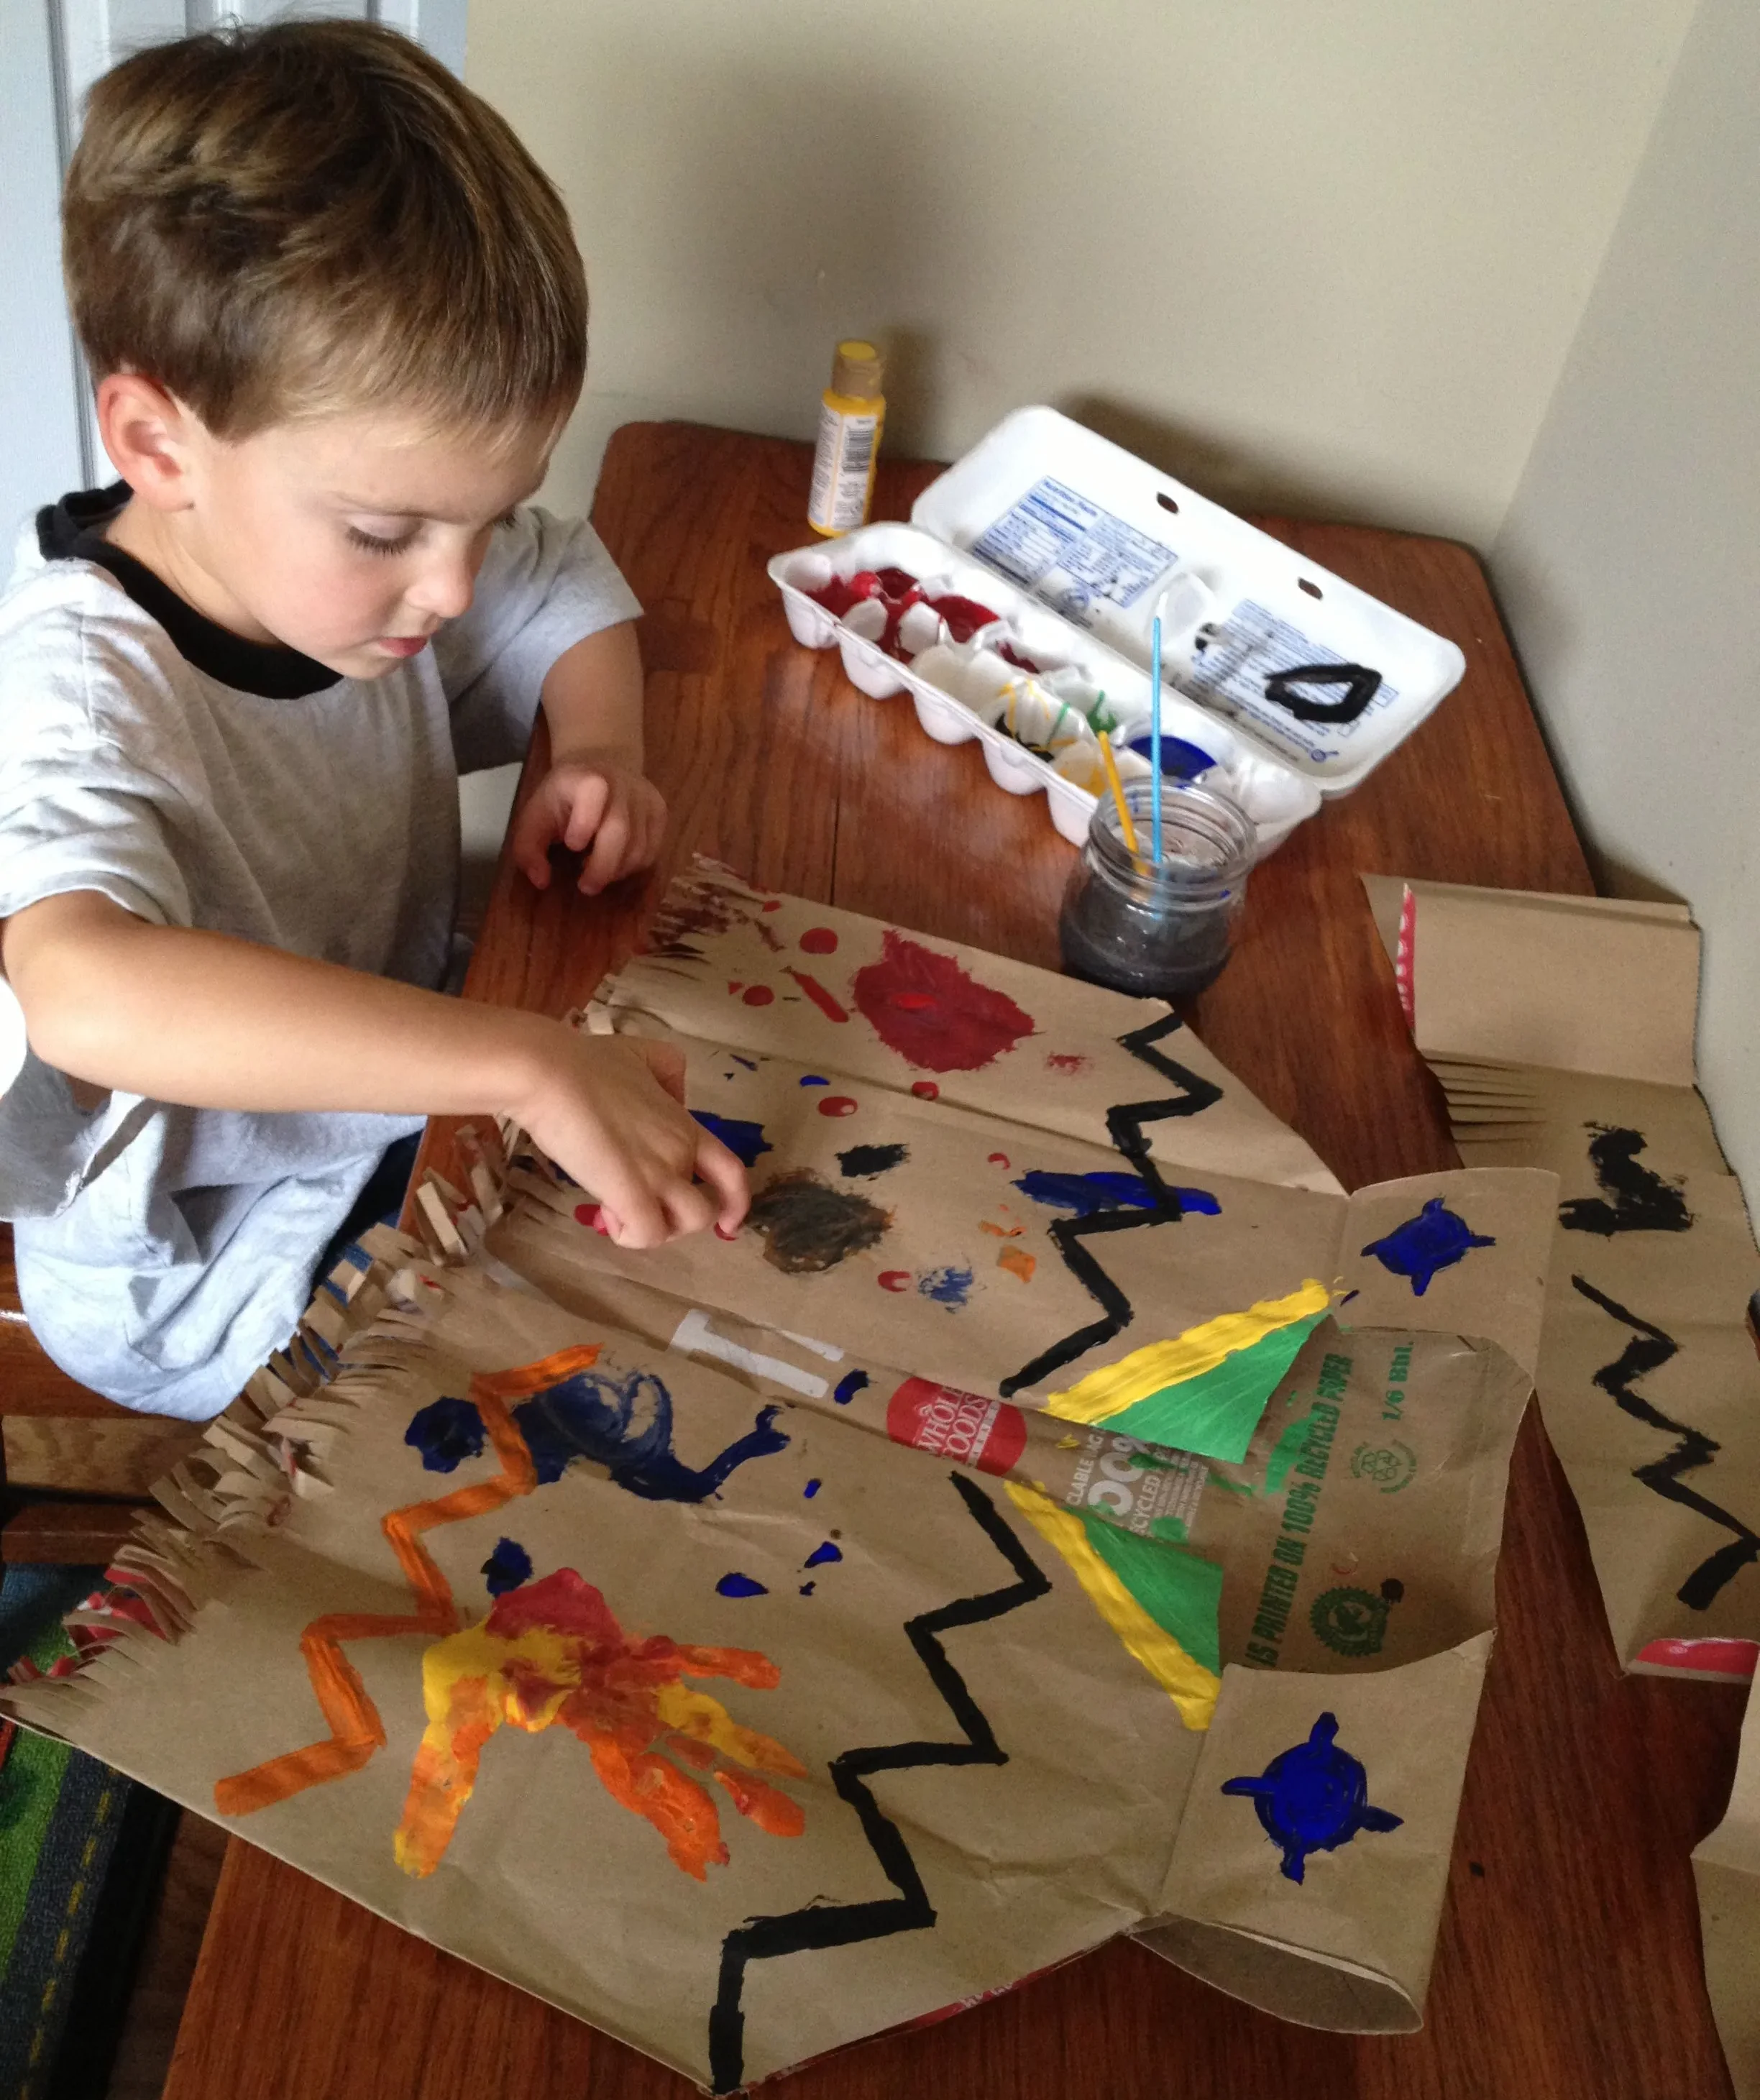
- Decorate Your Vest: Unfold the paper bag to its full size, and let your creative juices flow. Use markers, crayons, or paint to add colors and designs to your vest. This is where you can make your vest truly unique and reflective of your personal style. Feel free to add patterns, shapes, or even glue on fabric scraps and stickers for extra flair.

How do you make a vest out of paper bags? - Punch Holes for Fastening: To keep your vest closed, fold it back in half. Now, use a hole puncher to create a few holes along the front edges of the vest. These holes will serve as anchor points for fastening.
- Thread and Tie: Cut a length of yarn, ribbon, or string that is long enough to go around your waist comfortably. Thread it through the holes you punched in the front of the vest and tie a secure knot. This will help keep your vest in place.
- Slip your newly crafted paper bag vest over your head and adjust the fastening string to your preferred tightness. Make sure the armholes are comfortable and that the vest fits well.
- Rock Your Paper Bag Vest: Congratulations! You’ve just created a one-of-a-kind paper bag vest that’s not only stylish but also environmentally friendly. Wear it proudly to showcase your creativity and commitment to sustainable fashion.
Crafting a paper bag vest is a delightful project that allows you to turn everyday materials into a unique fashion statement. By following these simple steps and adding your creative touch, you’ll have a stylish vest that’s both eco-conscious and personalized. So, put on your new vest and step out confidently, knowing that you’ve made a fashion statement that’s truly your own.
If you want to read more information about How To Make Native American Beaded Earrings on us website, just visit Native American Clothes
A paper bag Native American vest for Thanksgiving

A Paper Bag Native American Vest For Thanksgiving” typically refers to a craft project where individuals create a vest using paper bags, designed to resemble the clothing worn by Native Americans. This creative endeavor is often associated with Thanksgiving, a holiday that commemorates the harvest feast shared between Native Americans and European settlers in the early 17th century.
Crafting a paper bag vest for Thanksgiving can be a symbolic and educational activity, helping people appreciate and learn about Native American culture and history while celebrating the holiday.
Thanksgiving is a time for gathering with loved ones, reflecting on gratitude, and embracing traditions. One such tradition is learning about Native American culture and history, which is an integral part of the Thanksgiving story.
In the spirit of this holiday, we’ll delve into a creative and educational project: crafting a Paper Bag Native American Vest. This activity not only allows you to explore Native American heritage but also provides an opportunity to engage with your family and friends in a meaningful way. So, let’s celebrate Thanksgiving by making a unique and educational paper bag vest inspired by Native American traditions.

