Blog
How To Make Native American Beaded Earrings
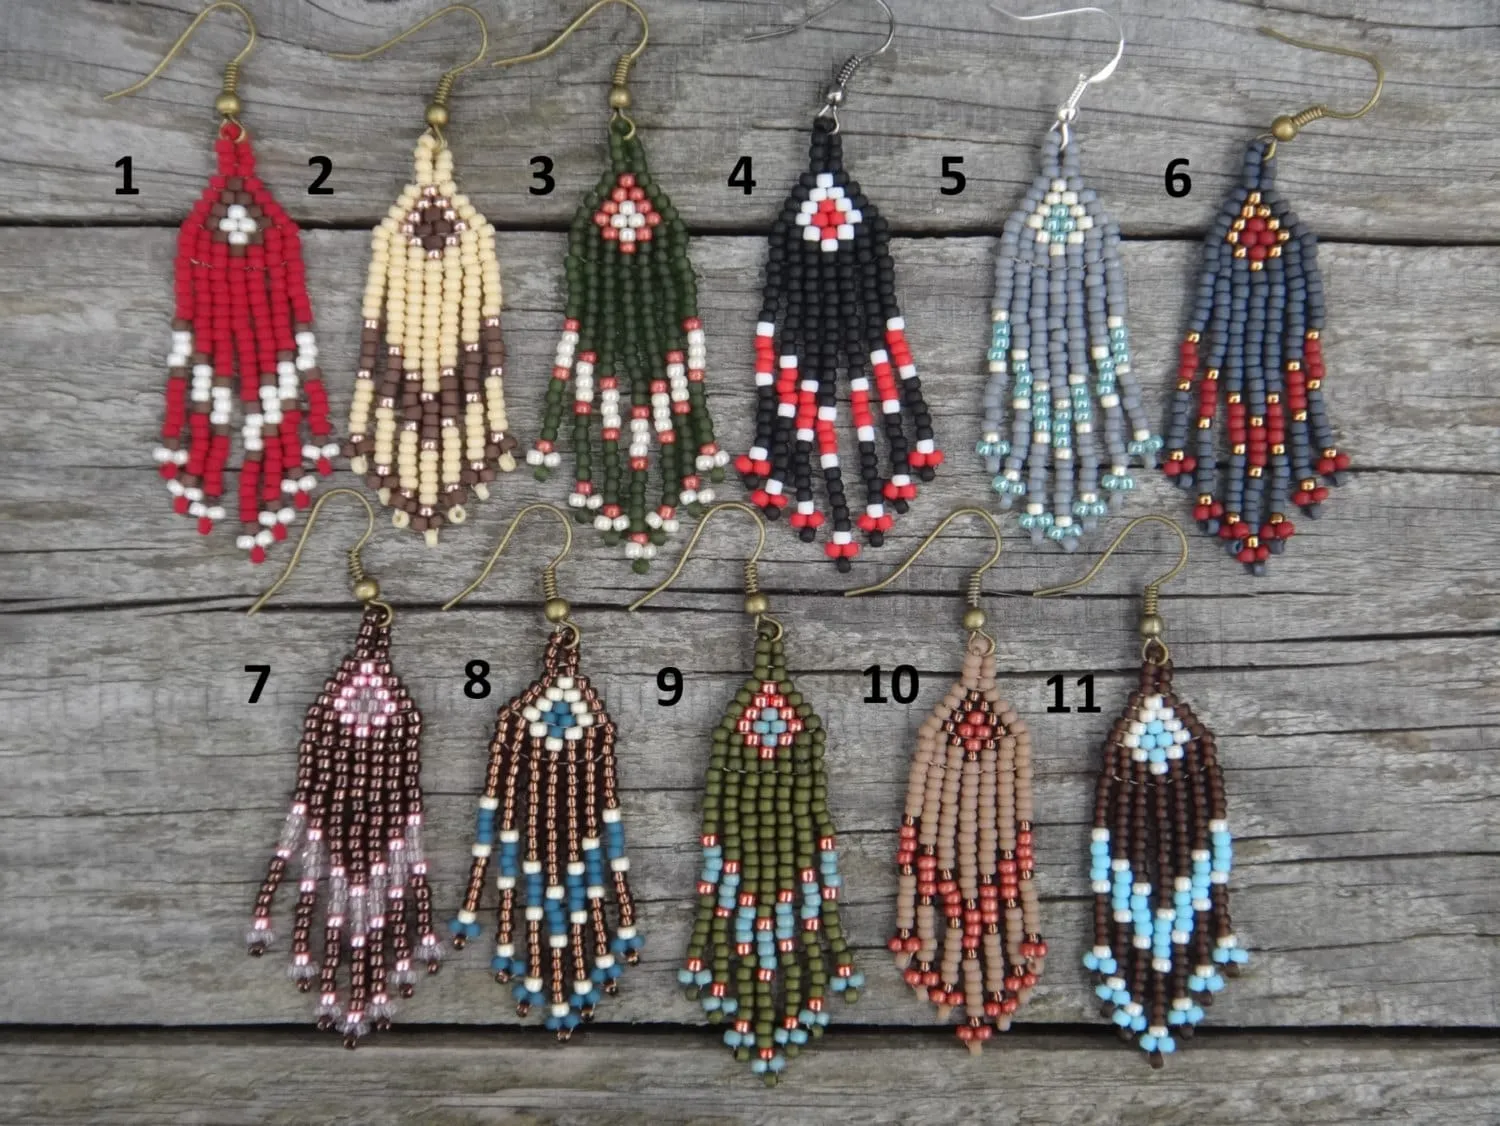
Beaded earrings have been a cherished form of artistic expression among Native American communities for centuries. These intricate pieces of jewelry not only serve as adornments but also hold cultural significance, often telling stories and representing traditions.
In this guide, Nativeamericanclothes will delve into the art of How To Make Native American Beaded Earrings?. Whether you’re a novice or an experienced crafter, the world of beading offers endless opportunities for creativity and cultural appreciation. Join us on this journey to discover how to create your own stunning Native American beaded earrings with a modern twist.
Before we begin, remember to visit nativeamericanclothes for a wide selection of beads and supplies to embark on your beading adventure.
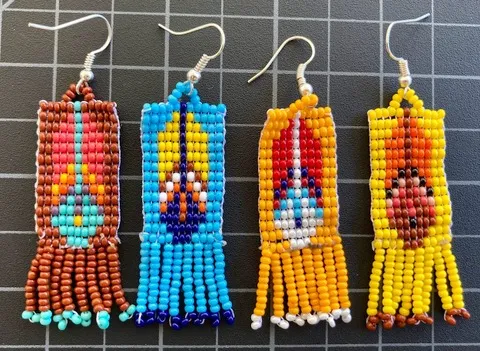
How To Make Native American Beaded Earrings?
Creating your own beaded earrings can be a rewarding and creative endeavor. Here’s a step-by-step guide to help you make beautiful beaded earrings:
Materials You’ll Need:
- Beads: Choose the beads of your preference. You can use seed beads, glass beads, gemstone beads, or any beads you like. Ensure they have a hole large enough for your thread or wire.
- Earring Findings: These include ear wires or studs, jump rings, and earring backs.
- Wire or Thread: You can use beading wire or nylon thread. Wire is more durable, while thread is flexible and lightweight.
- Needles (if using thread): Beading needles are thin and flexible, making it easier to thread beads.
- Scissors: For cutting wire or thread.
- Pliers: Flat-nose or round-nose pliers are handy for opening and closing jump rings.
Step 1: Design Your Earrings
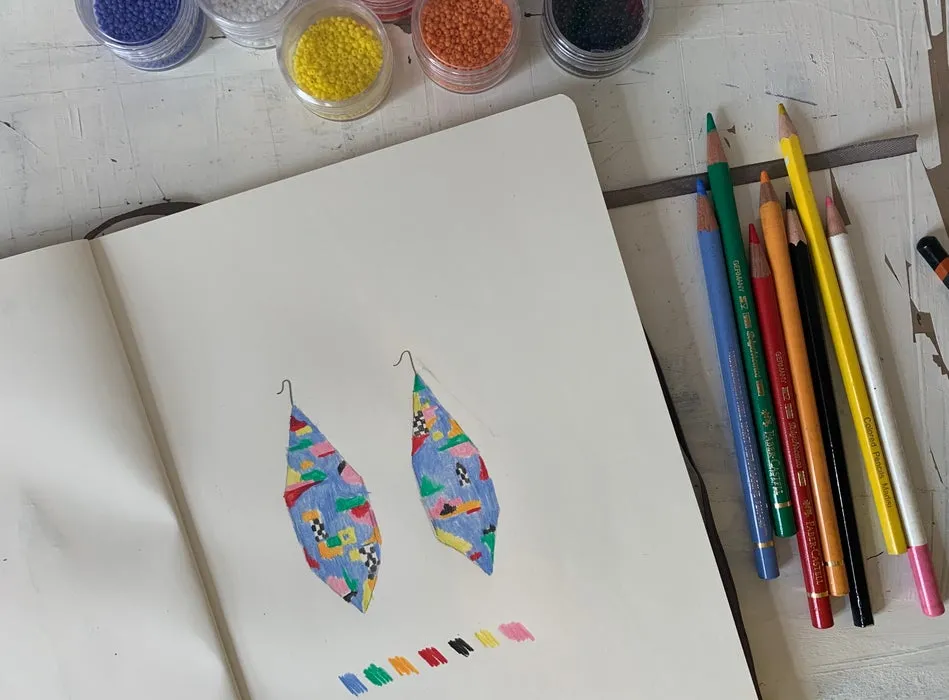
- Sketch your earring design on paper or have a clear mental picture of what you want. Decide on the color scheme and pattern of your beads.
- Set up a clean, well-lit workspace. Ensure you have all your materials within reach.
Step 2: Cut Your Wire/Thread
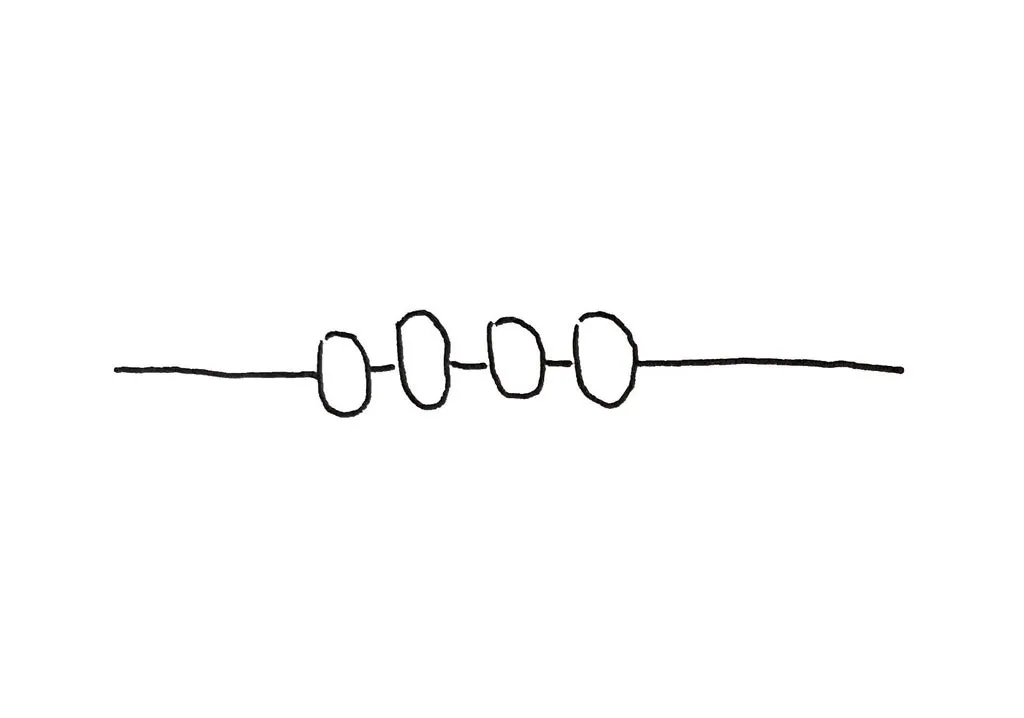
- Measure and cut a suitable length of wire or thread. A standard length for earrings is around 6-8 inches, but adjust according to your design.
- If you’re using thread, attach a beading needle to one end. This makes it easier to thread beads.
Step 3: Begin Beading
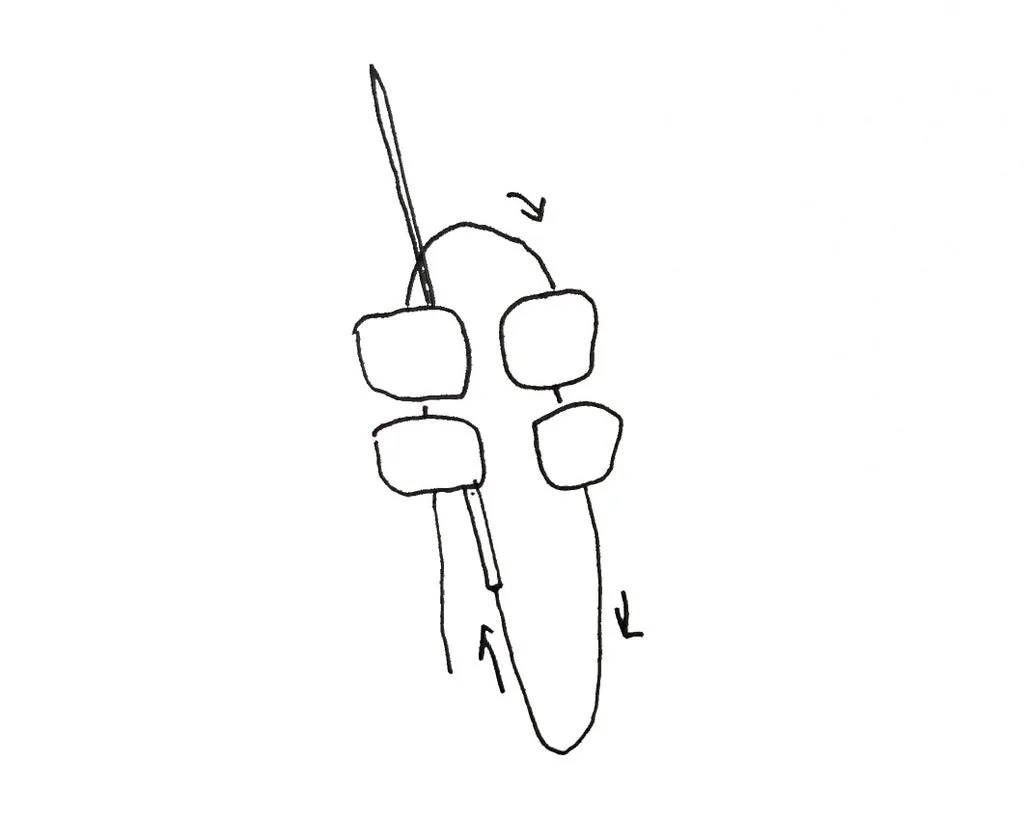
- Start by adding a stopper bead (a bead that’s different from your design and will be removed later) to prevent your beads from sliding off the other end.
- String your chosen beads onto the wire or thread according to your design. Use your needle or fingers to guide them.
- Once you’ve strung all the beads, create the earring component. This could be a simple loop at the end, or more complex patterns.
Step 4: Secure the Earring Component
- If you’re using wire, use pliers to create a loop at the end. If you’re using thread, tie secure knots to prevent the beads from coming loose.
- Use jump rings to attach the earring component to ear wires or studs. You may need pliers to open and close the jump rings.
Step 5: Finish Your Earrings
- Check your earrings for any loose beads or threads and make necessary adjustments. Trim any excess wire or thread.
- Repeat the entire process to create the second earring, ensuring they match in size and design.
Step 6: Final Check
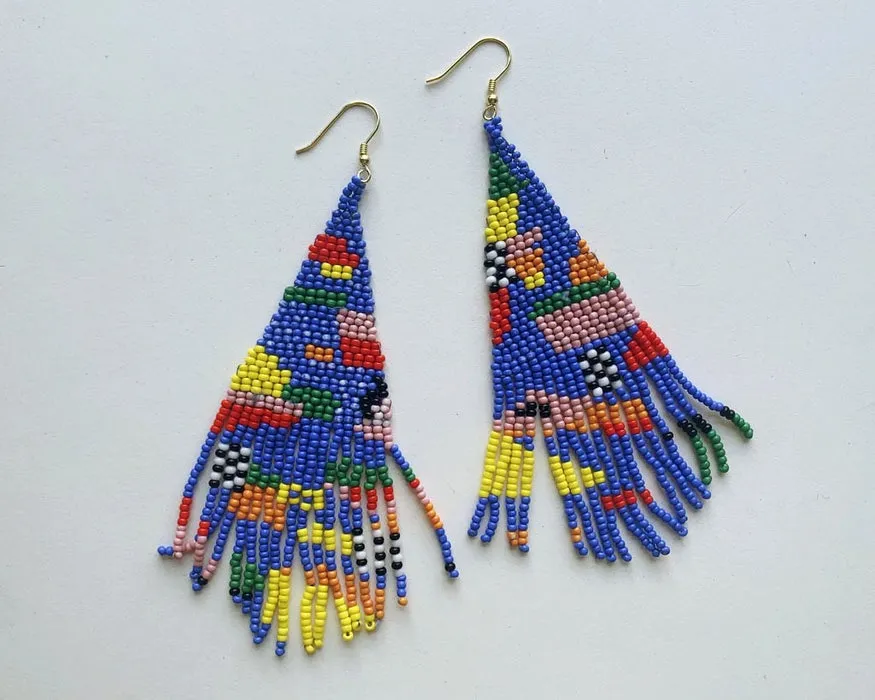
- Inspect your earrings for symmetry and make any final adjustments.
- Your beautiful beaded earrings are ready to wear or gift to someone special. Be proud of your creative accomplishment!
Remember, practice makes perfect. Don’t be discouraged if your first pair isn’t perfect. With time and experience, you’ll master the art of making beaded earrings and can experiment with more intricate designs.
What did Native Americans use for beads?
Prepare to dive into the intriguing world of beadwork, where creativity knows no bounds! Embark on a journey of discovery and craftsmanship as we explore the fascinating realm of Native American bead artistry.
In the early days, beadwork was a testament to human ingenuity and resourcefulness. Native American bead artists, driven by a deep connection to their environment, had to rely on the materials they could find around them. It was a time when artistry met nature, resulting in exquisite creations.
Beads, the building blocks of this art form, were crafted from a plethora of natural materials. Precious stones, ordinary rocks, bone fragments, pearls, shells, and notably, porcupine quills all found their way into the skilled hands of these artists. Porcupine quills, in particular, held a special place in this intricate craft. Their innate convenience, possessing pre-made holes for stringing, made them a preferred choice, reducing the preparatory work significantly.
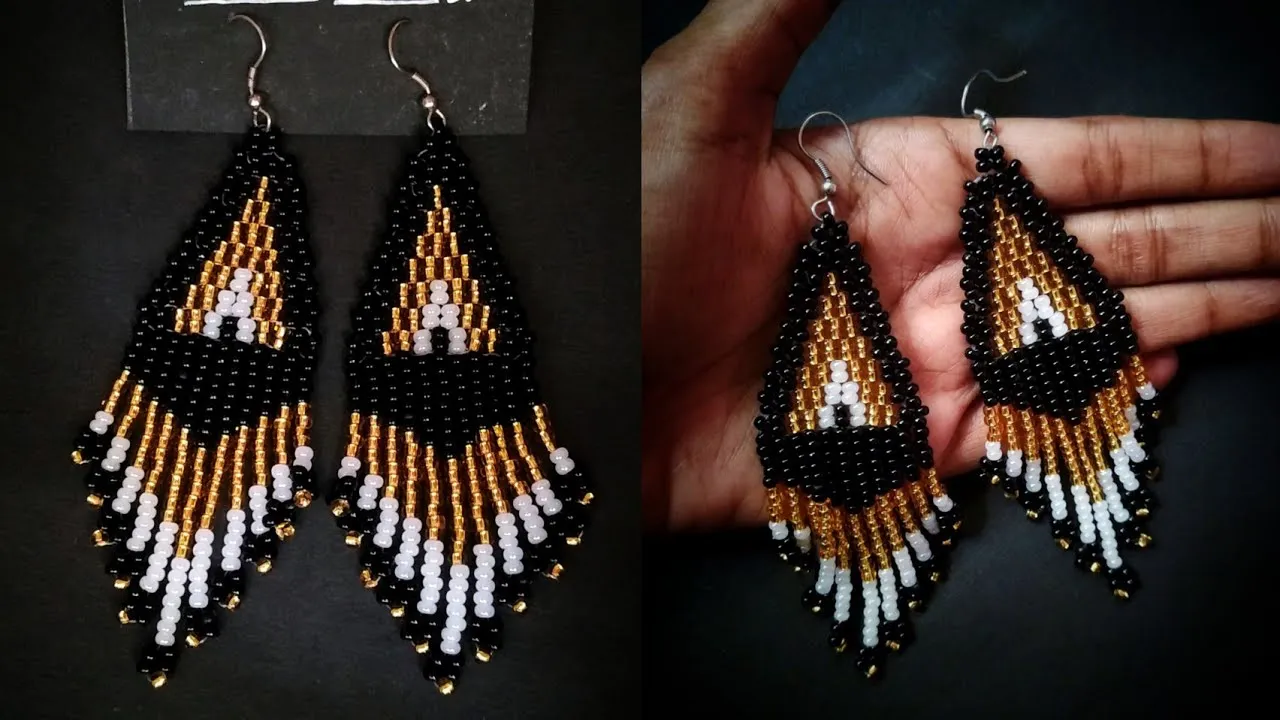
Quillwork, an art form unto itself, was held in reverence by these communities. The painstaking process of transforming these raw materials into beads was a labor-intensive affair. Artisans utilized stone tools and abrasive sand, relying on their manual dexterity to carve, shape, and hand-drill holes into these elements. Each step was a testament to the dedication and artistry that went into Native American beadwork.
Step into the world of Native American bead artistry, where tradition, nature, and creativity intertwined to produce remarkable pieces of art. Explore this intricate craft further and discover the rich heritage and skills that continue to inspire contemporary artists today.
How do you make beaded fringe earrings for beginners?
Materials You’ll Need:
- Beads: Choose an assortment of beads in different colors, sizes, and shapes. These will be the main elements of your earrings.
- Beading Thread: Select a strong and flexible beading thread. Nylon or Fireline are popular choices.
- Beading Needle: Use a thin beading needle that can easily pass through the bead holes.
- Earring Hooks: You’ll need a pair of earring hooks for each earring.
- Jump Rings: Small metal rings to connect the beaded part of your earrings to the earring hooks.
- Scissors: For cutting the thread.

